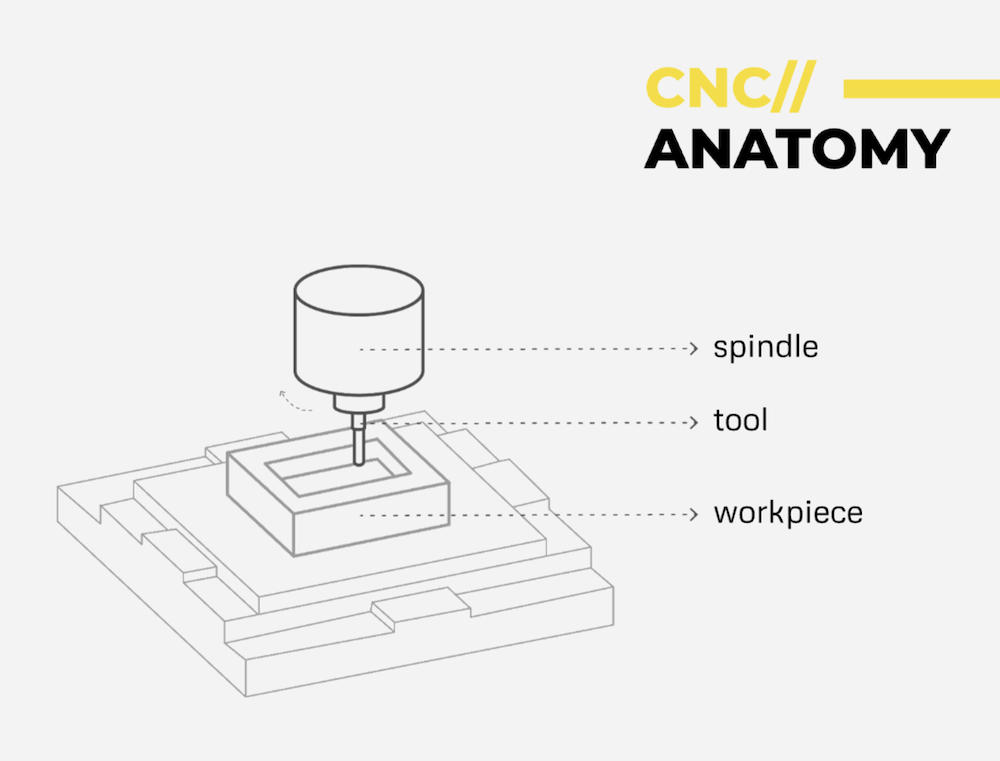
Computer-controlled cut machine, in this case, the cutting will be done through milling the material, meaning eating material off with an end mill. This looks kind of like a drill, the difference is that the process of milling is done by a flat end mill while the drilling has a pointing rounded drill bit to create a cylindrical hole. To be able to cut the material on 3 axis CNC, the end mill enters the board thanks to a slope to be able to cut the material horizontally, milling can be only done by craving material horizontally and cut laterally. The good news, is I’ve already milled a PCB and basically, it’s the same process, the bad news is when designing a PCB you don’t need to think about joints.
Preparing the design is quite similar to the laser cut since we need to prepare the file in 2D and have into account the Kerf. Unlike the laser cut, the kerf would be determined by the diameter of the end mill and we also have to take into account the tolerance 0.25 MM (meaning the amount of material eaten by the mill). In the FabLab we have a 3axis CNC Machine and I’m not sure if so but we could also use the 4 axis milling machine from Elisava to mill directly in cylindrical shapes, Sooo cool!
Weekly task
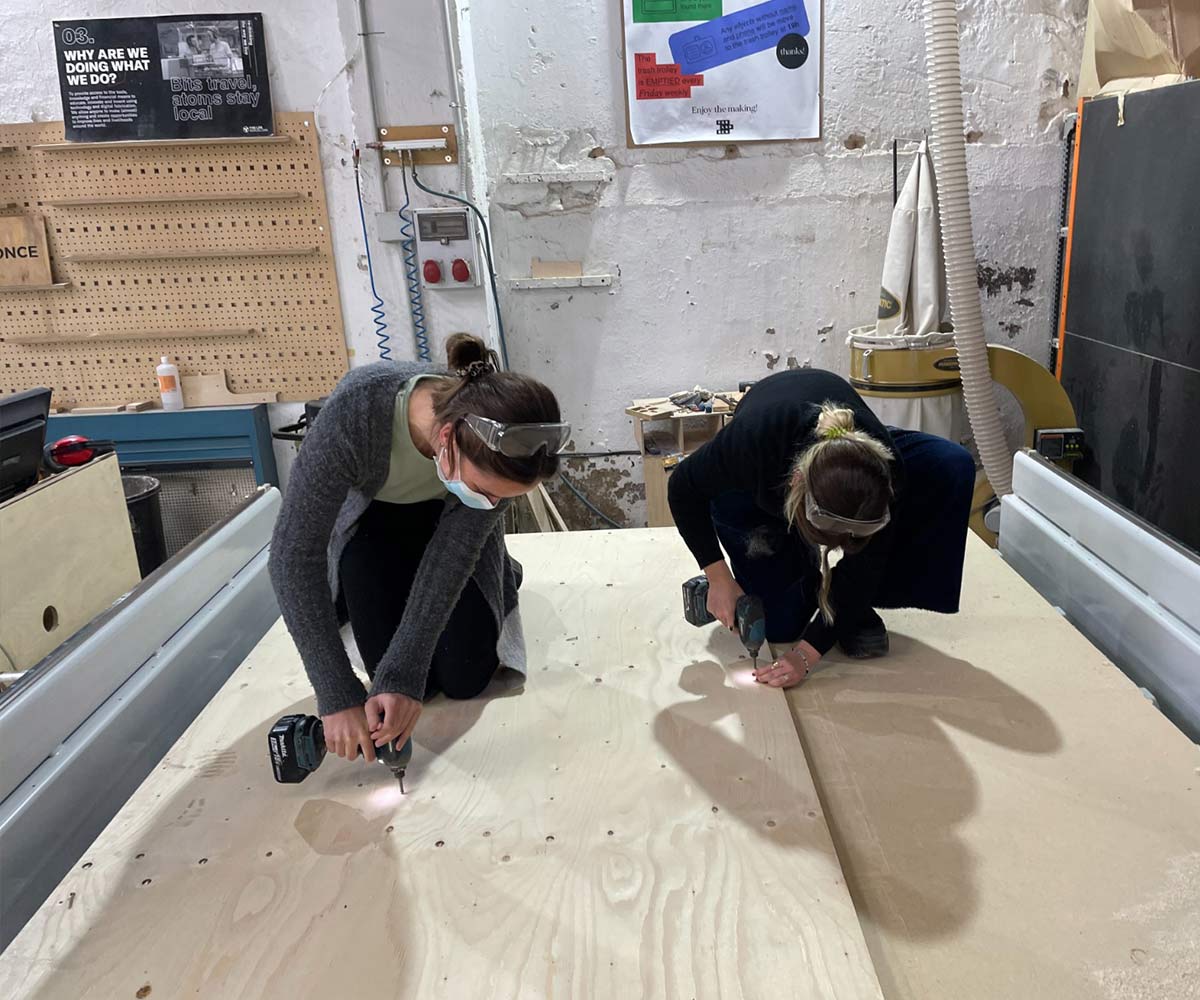
Design something big IN PAIRS! . You can use up to a maximun of half full board ( that means 1200x1200mm) of the available material per student. 15 mm thick pine plywood boards.You will cut your design with your teammate, so you will cut the whole panel at once.
Once again, I kind of struggle a bit when thinking in 3D and modelling it in 2D. For this task, I decided to give it another try to rhino and design with it instead of fusion,... Honestly, feels like I’m understanding a bit more the interface but I felt a bit more comfortable with fusion and I think it was more interesting to have it parametrical in this case since the board that we might get to use could vary in the measurements. And I haven’t learned how to design parametrically with rhino and grasshopper, even do I’m planning to.

24/03/2022 Dramatic turn of events!
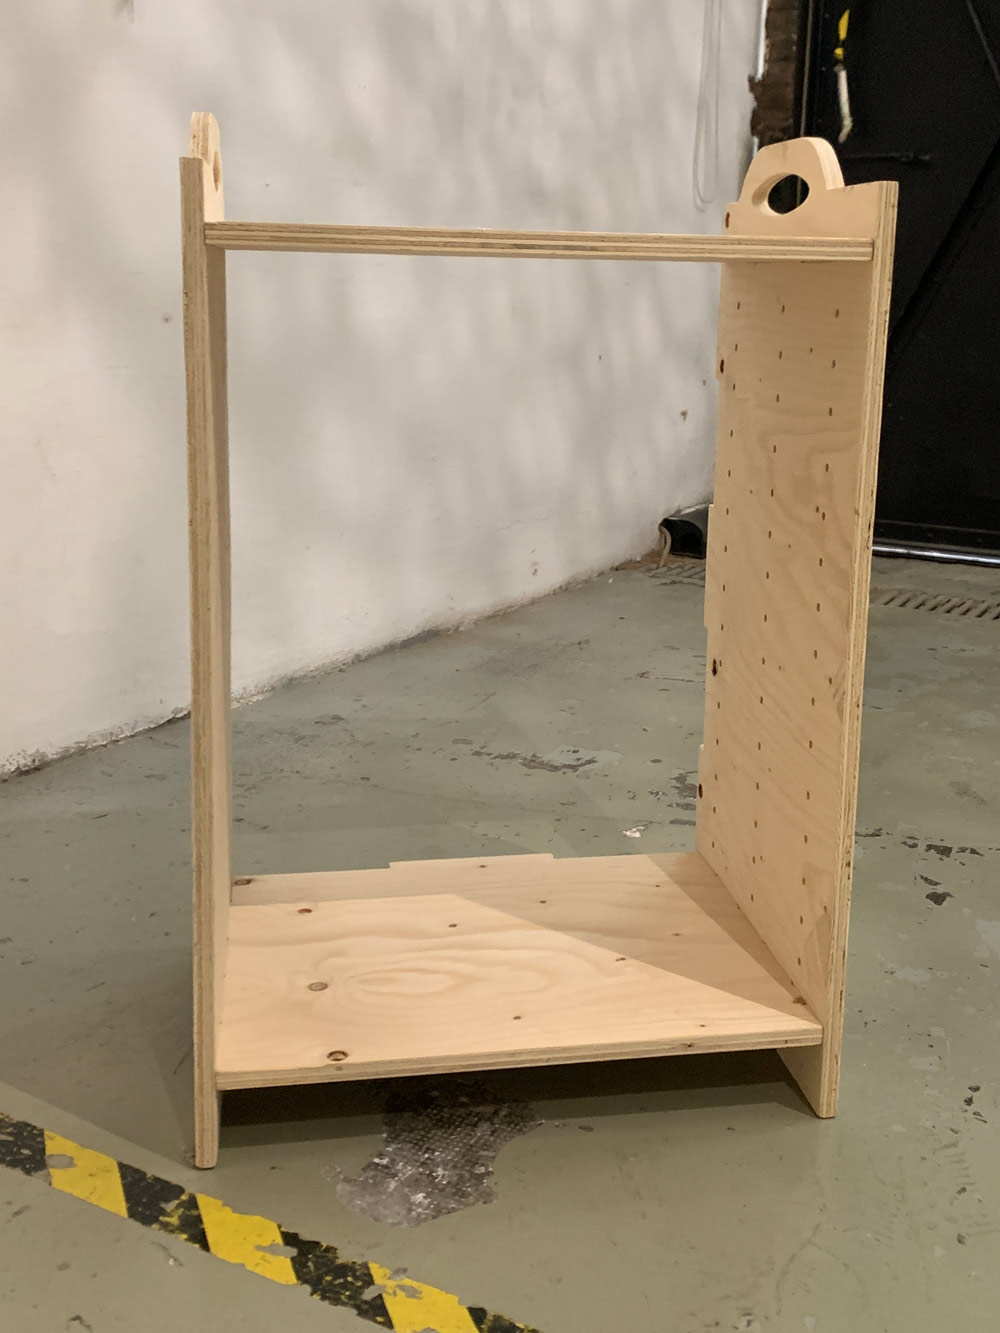
As most of you will know by now, my precious laptop was stolen and with it all my screenshots of the documentation process when designing in rhino. I do have the final file because likely it was uploaded on the Iaac.cloud, ( universe bless the cloud! ) In this case I didn’t have a good idea to relate it to my project so I decided to make a chest of drawers to organise all my material better at home.
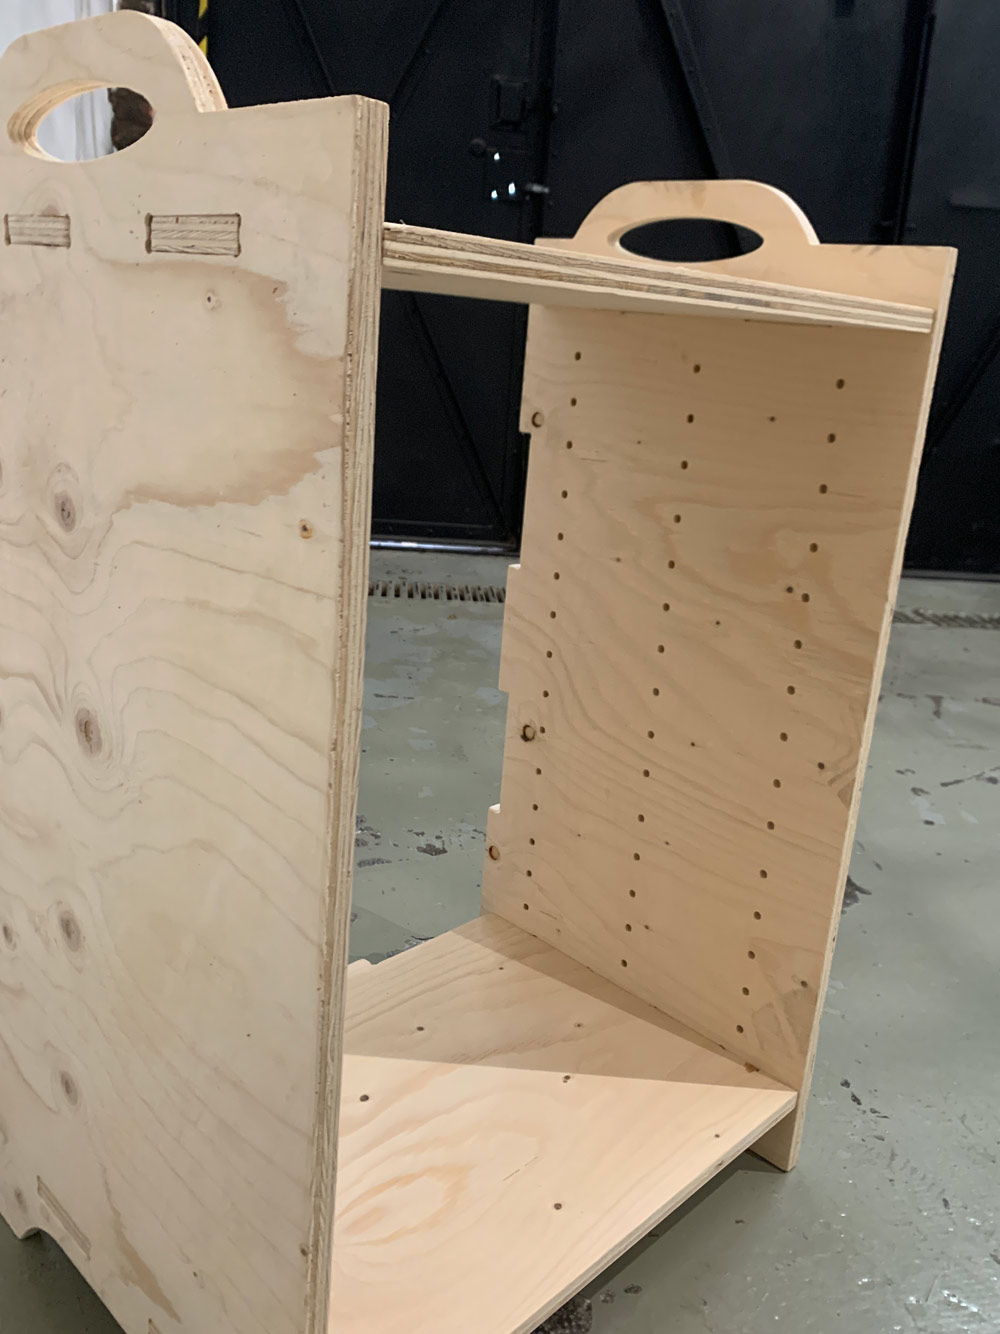
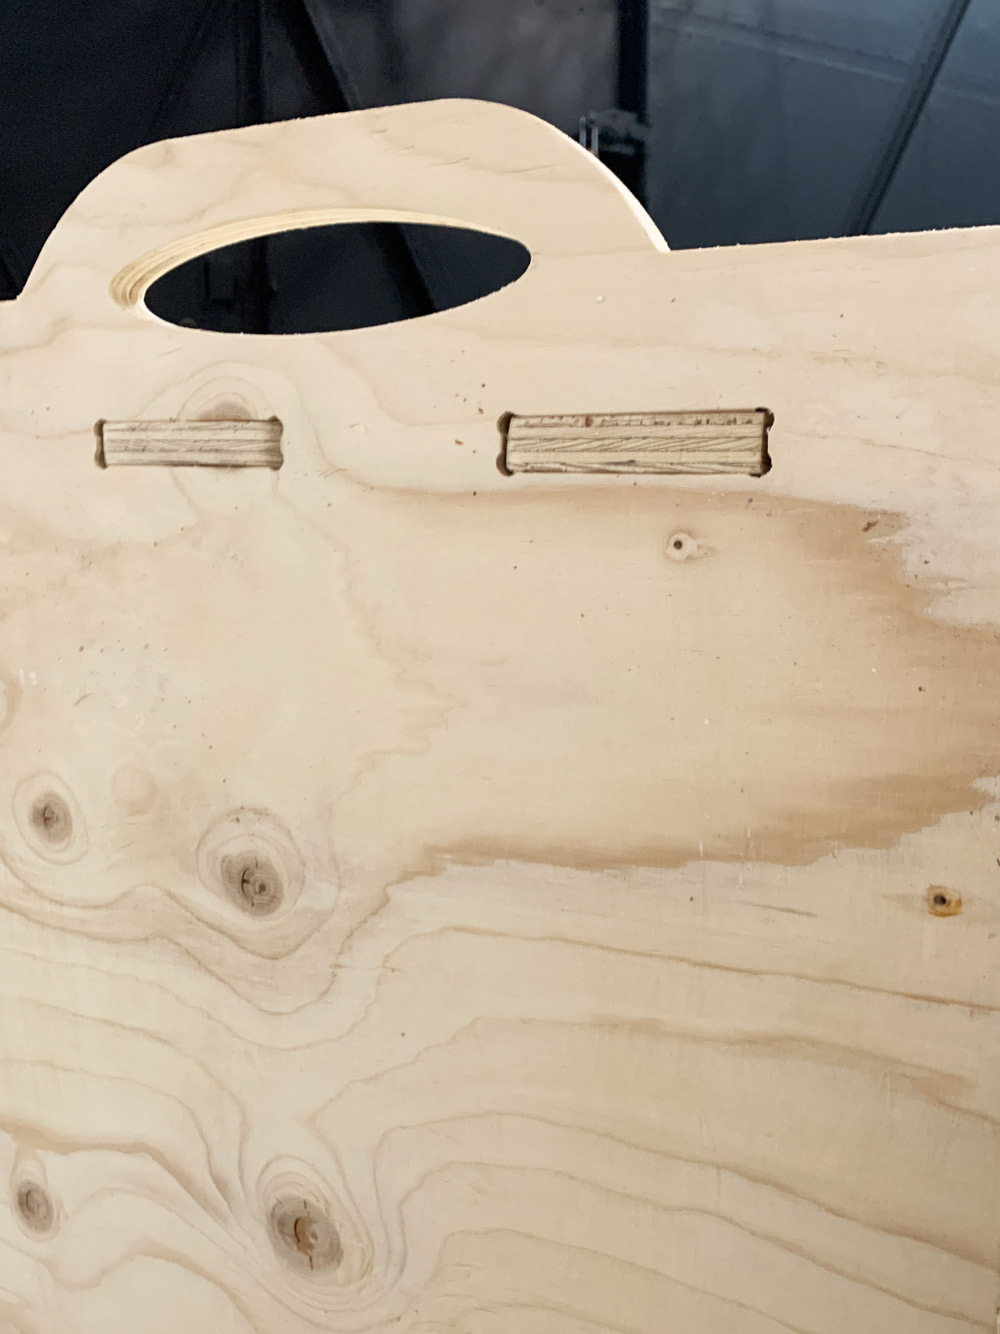
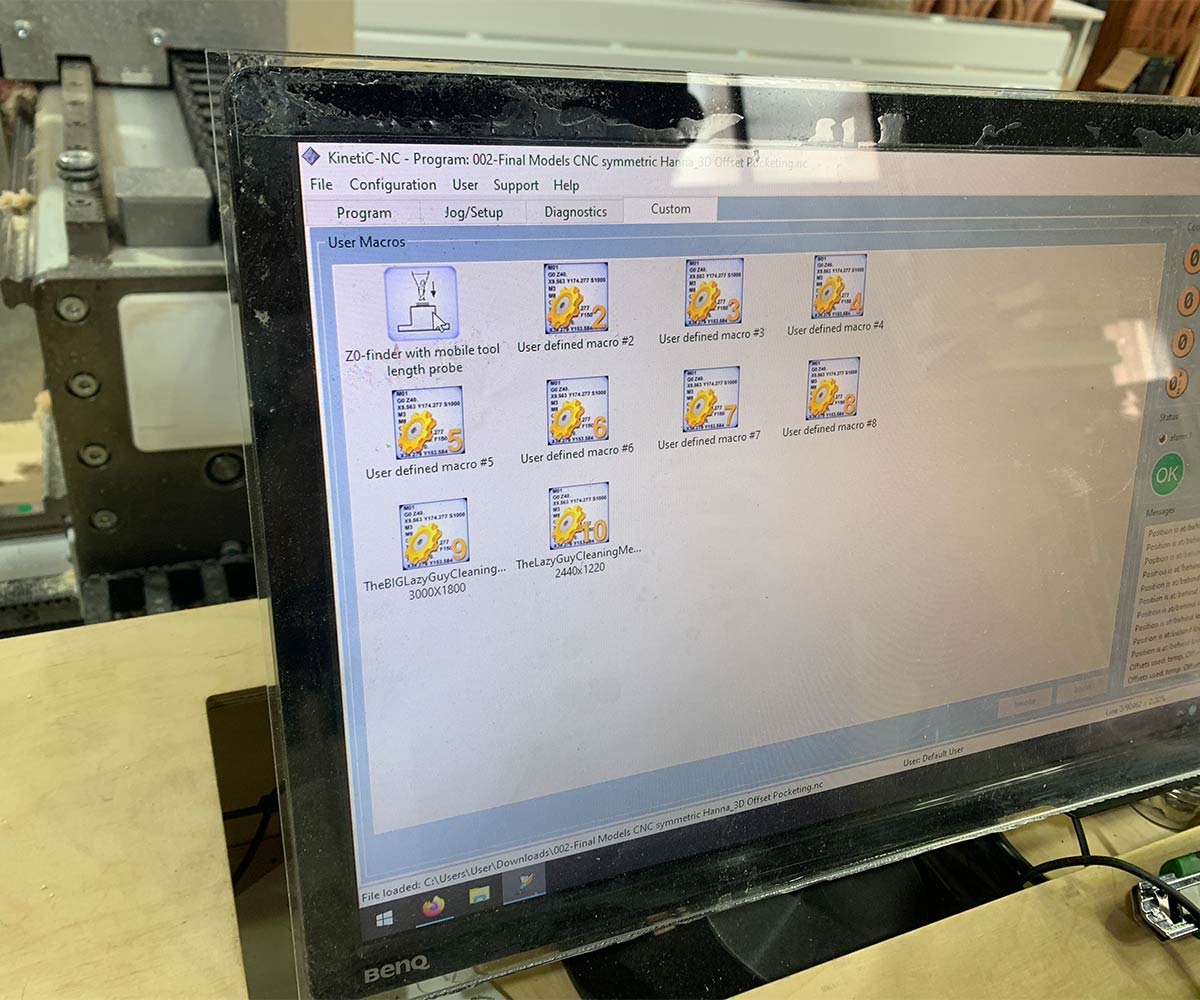
I do remember that Gerda and I prepared the files in Eagle even though it took ages to upload was easy in the sense of choosing the tool, board, etc. Since it was the very first time for us to use the CNC, we needed some help to define where would be better to place the screws and which other part would be enough to be held by tabs. We ended up with 2 Gcode files, one for the screws and the other for the milling of the objects.
Fortunately, I do have pictures when cutting the board and configuring the settings on the CNC machine.
1. Place the wood board on the sacrificial bed board and try to align it perfectly to the right down corner.
2. First of all, we need to check the tool that we need to use and place it in the router held by the Collect. In this case 6mm. The Collect will click when is done, to remove it press from the side.
3. Once the spindle is all set and well tighten we can proceed to configure the 3 axes. With the program kinetiC-NC. In Jog set up move the X and Y to set the origin.
4. Z-axis will be set by using the magnetic bottom that must be perfectly aligned and centred with the end mill. There is a preset on the custom setup, Z0 finder.
5. When we’ve set all the axis we can send the first file for the screws. But we need to add some lines on the Gcode with the starting speed of the spindle :
%
G21
M7
M8
M3
S2100
6. Don’t forget to wear glasses and ear protectors.
7. Screws the screws and repeats the processes 4 and 5 but with changing the file!!! Be aware that your second file doesn’t have the screws so we don’t break the endmill or even worse the machine.


8. Turn on the vacum.
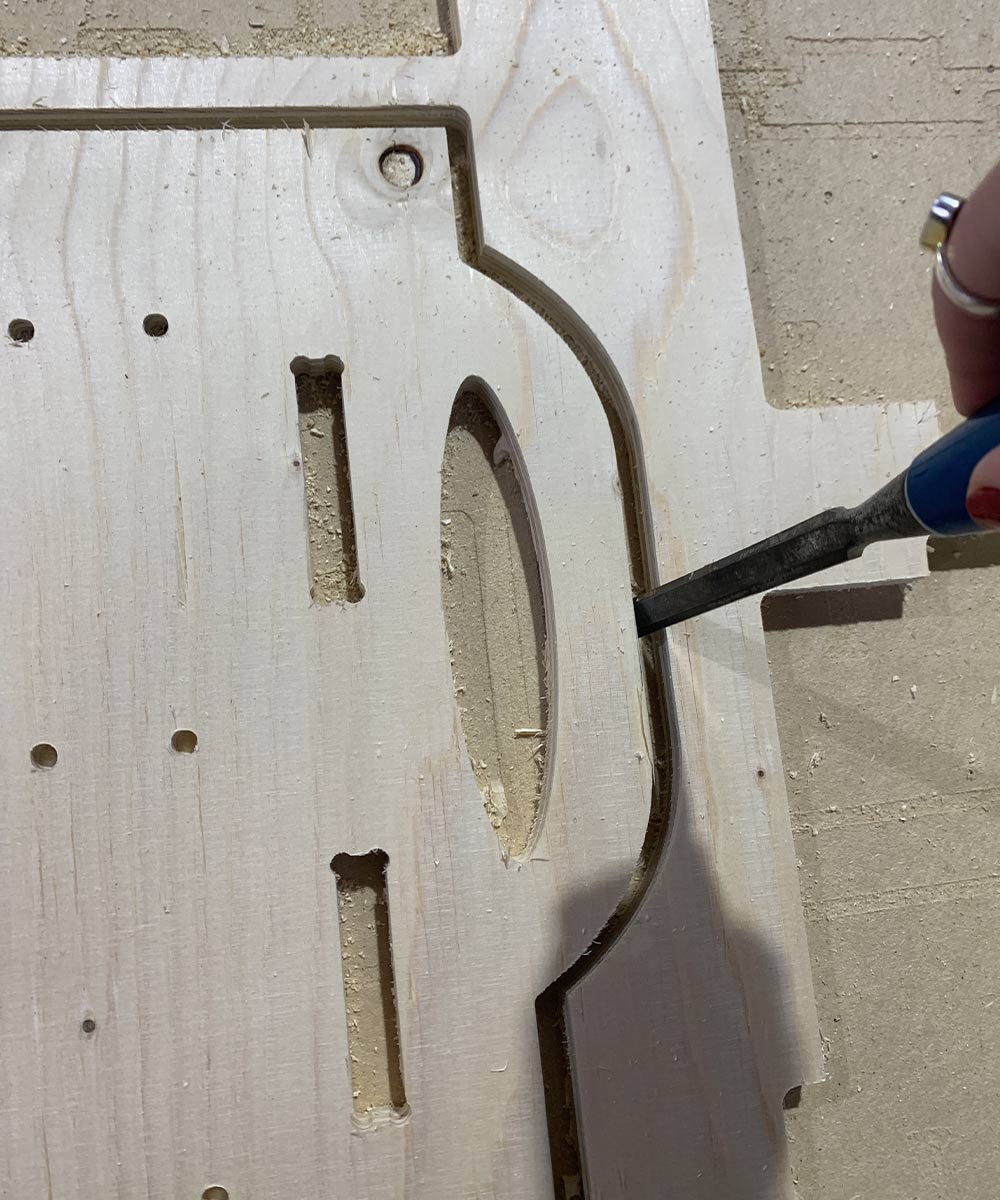
9. When the machine is done, is time to unscrew and break the tabs to get the parts out of the board.
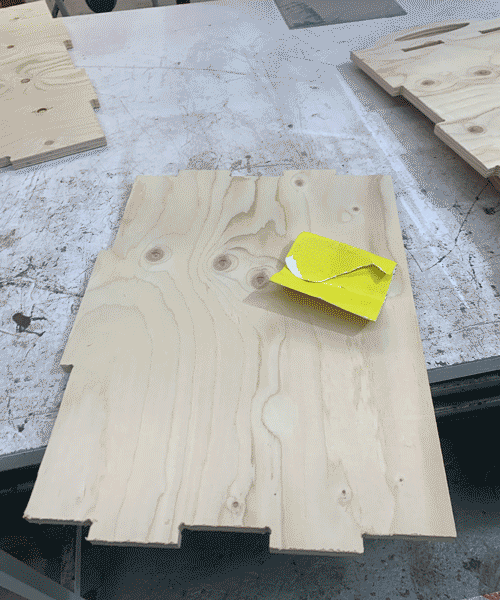
10. Place the scraps on the leftovers, who knows for whom they might be useful.
11. Sanding and sanding and more sanding...
12. Assembling the chest of drawers.
Final Product