Diving deeper into all the possibilities of 3D printing offers. We had a brief introduction to this technology in the precourse and I knew that we can print with clay, but I had no idea that there are more 3D printing techniques apart from extruding. The types of 3D printing techniques are Extrusion (FDM) - as mentioned before is the most common and used -, Light polymerisation (SLA) - high-resolution results but needs some time to post-process the pieces -, Powder printing (3DP) - which I think is more used to print pure metal pieces -. Laser hardening the liquid or a powder.
From an STL file, we slice it on a slicer software and then we print. The smaller the layer the higher the resolution but it will take more time. A higher layer means more homogeneity on the material and thicker means stronger, the printing process is also faster. This is important to have it in account when preparing the file on the slicer, and it will depend on the final purposes of the piece. Some machines print in the planar axis and others have multiaxis printing properties, each part has its different stress points. There is also the possibility of using a CNC machine to print on larger scales. As well as using robotics arms to extrude directly the material, like clay or even heating directly the pellets to extrude the material at the moment. I found especially interesting the on-air printing technique, which has a dryer oriented to the material drying it directly while being extruded.
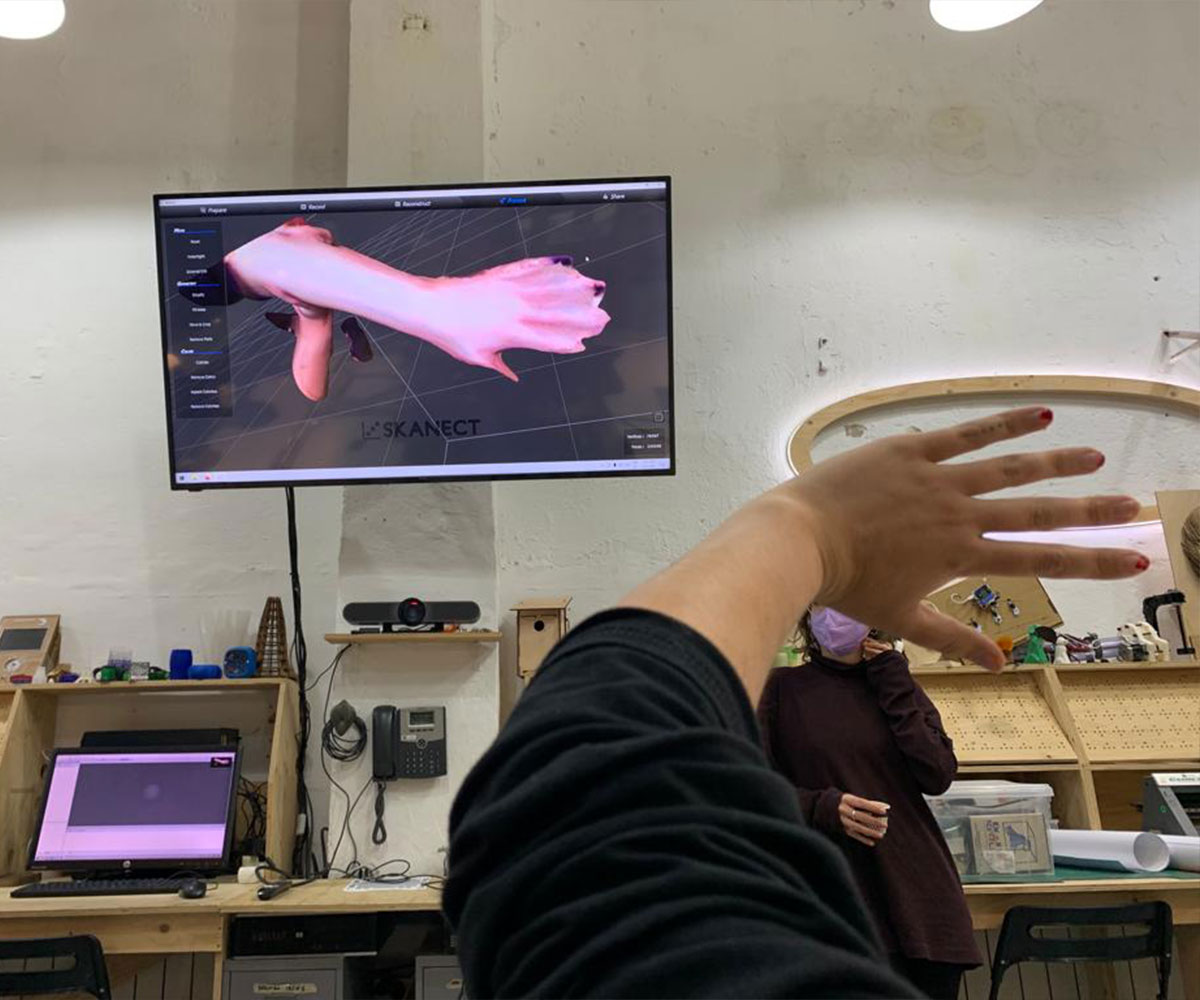
We also learn how 3D scanning works. Photogrammetry is the technique used to 3D scan anything, from objects to surfaces. The more pictures you take of the object/surface the better the definition of the 3D model would be. It's important to overlap the pictures and do it in a dome movement. I found the 3D scanning programs are surprisingly efficient since with not so many pictures they can recreate in a very accurate way the scanned thing. I want to use further this technique because I want to design all kinds of wearables customized to my body shape to become a Bioborg.
Weekly task
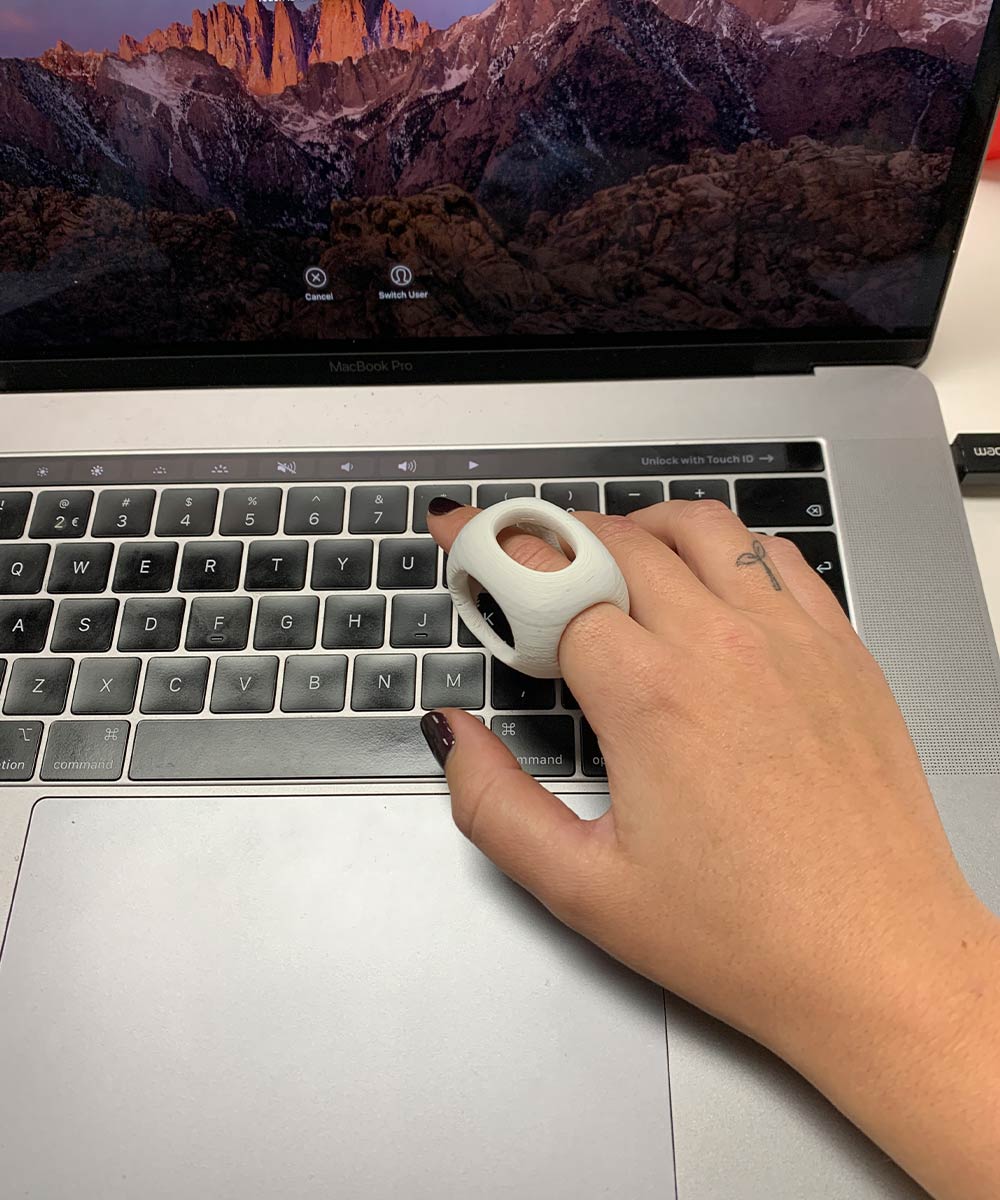
For this weekly task, I proposed to myself that I would try to learn how grasshopper works since I’m highly interested in generative art and design practices for my project. I would like to print the first piece of a Bracelet-ring, where I would eventually store spirulina to keep it alive with my body heat and get one step closer to becoming a Bioborg. 3D printing can be an easy task but I have to recognize that I have a hard time designing with Rhino and Grasshopper. Both programs are completely new to me and I’m not used to thinking in 3D when designing.
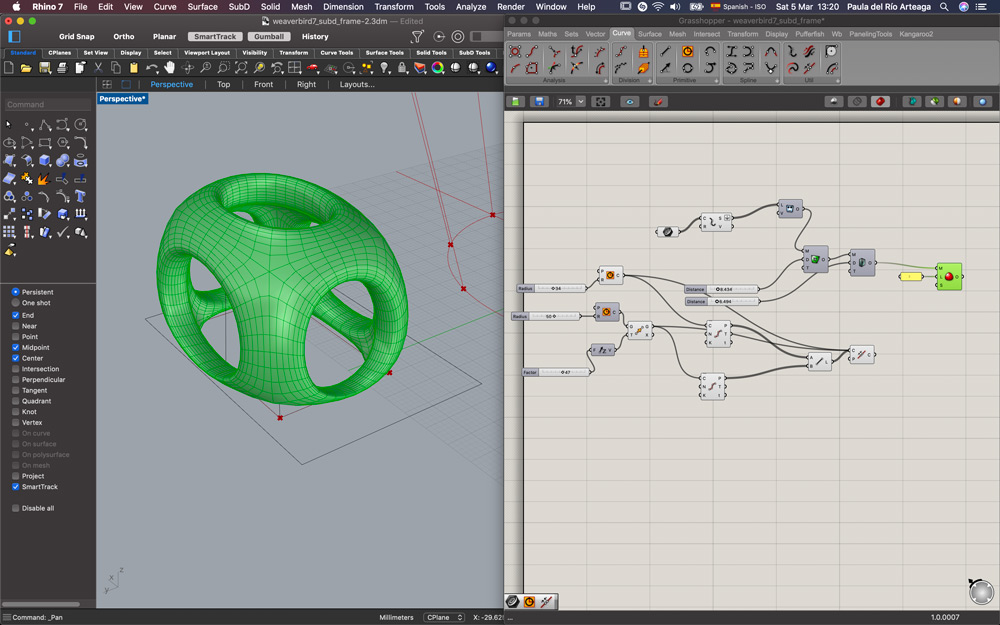
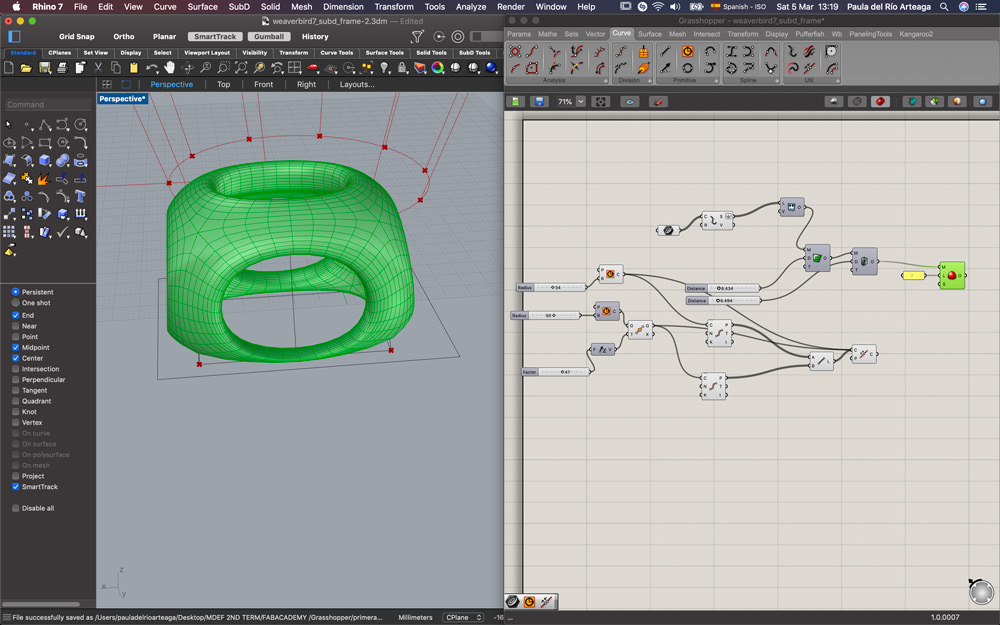
After reading some principles of grasshopper I decided to download a file to understand how was it built and from it be able to design my piece. I want and should expend a lot of time using this new program to be able to design all my ideas but for now, I wanted to lay low and start with a small piece. I tried to design a cylinder and add the algorithms to it but I couldn’t manage and ended up doing a rectangular shape.
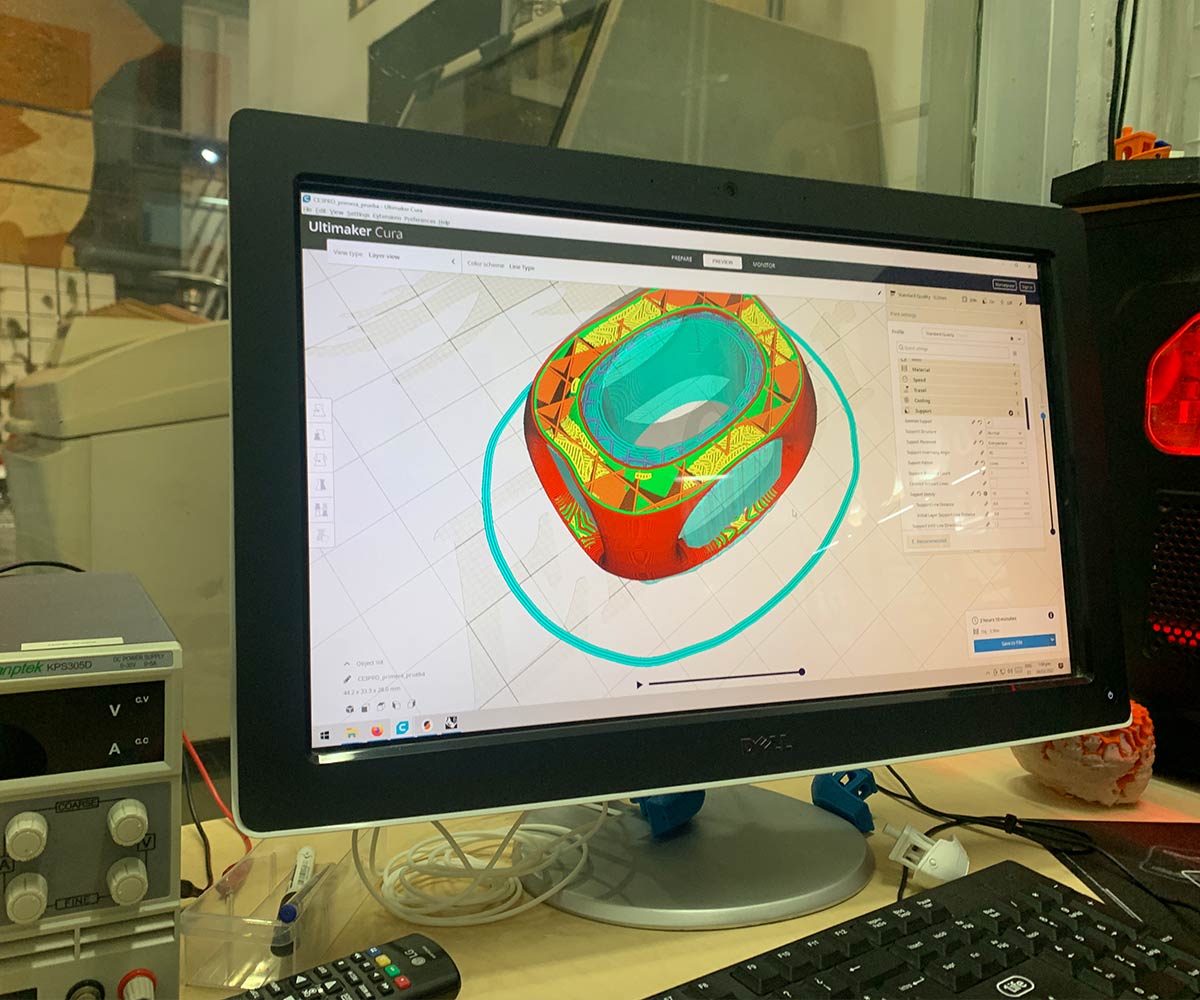
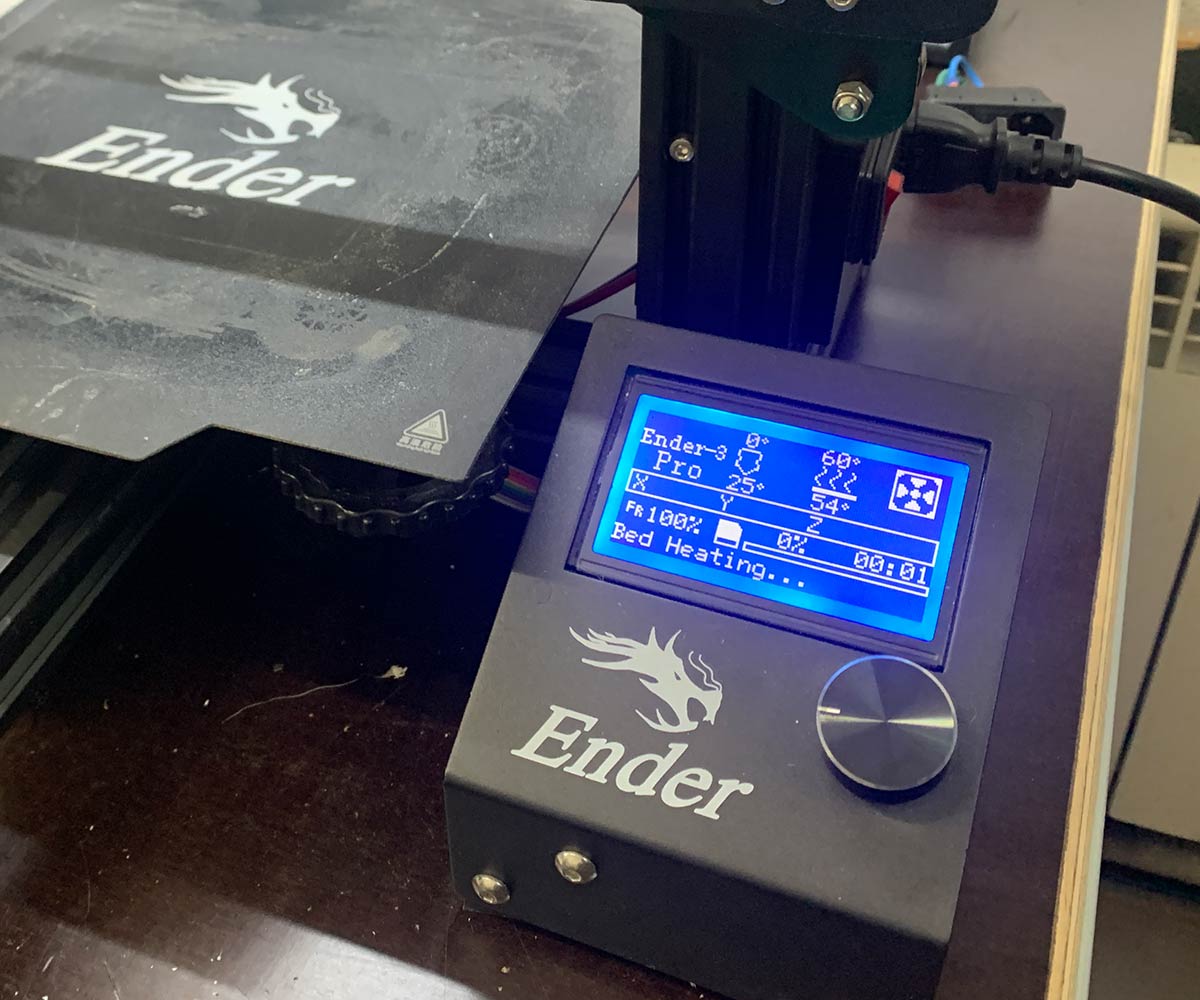
With the aid of Dafne, we passed the STL file to the slicer and set the needed parameters. For this piece, I needed to add some support. I used the Eder planar 3D printer and PLA.
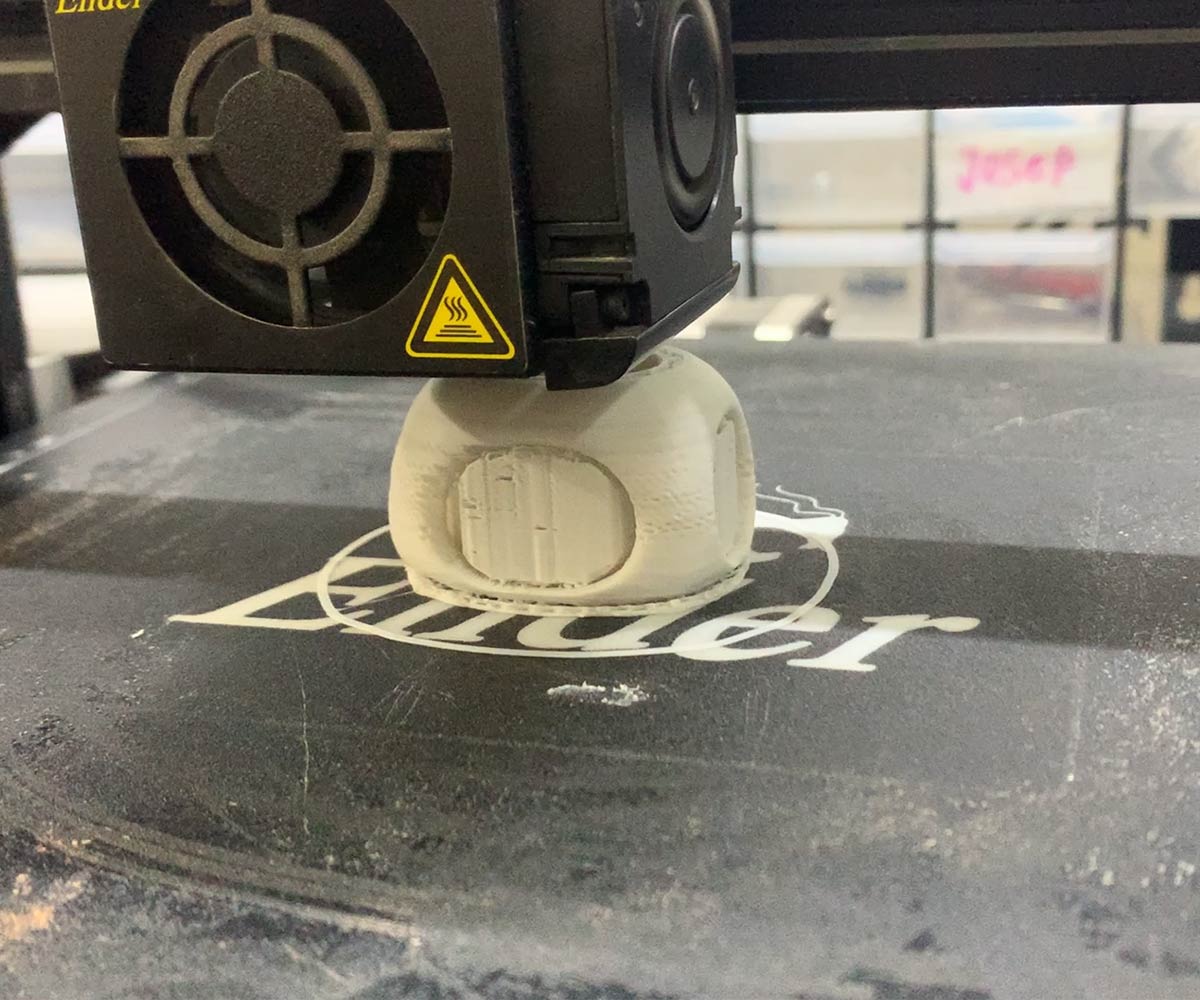
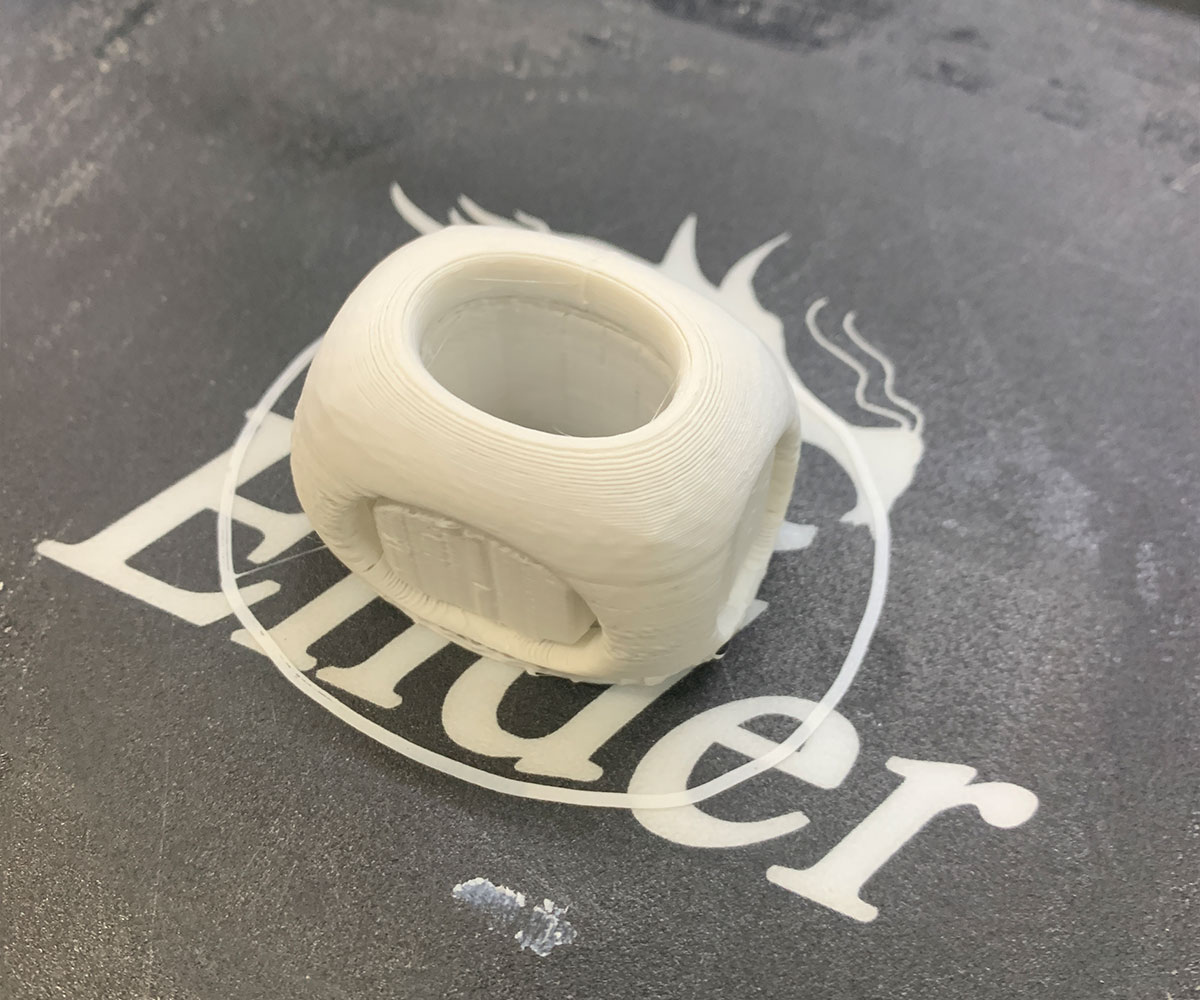
This piece might seem really simple, but for me, it’s a very successful first interaction with this technology. Now I can say that I have lost my fear of it. And I can wait to explore further all the possibilities 3D printing offers for a designer.