Weekly task
Learning about Laser cutting and all its possibilities. 2D design for laser cutting offers lots of possibilities to create 3D structures. We have different techniques like stacking, similar to 3D printing since the process is to stack layers of the material on top of each other to create a 3D object. Kerf is the amount of material that the laser burns on its way. To have a good press-fit joint, we need to run a kerf test to minus this value from the thickness of the material.
Create a small object using parametric design tools. The object should be assembled in a press-fit way (no use of glue, screws etc).
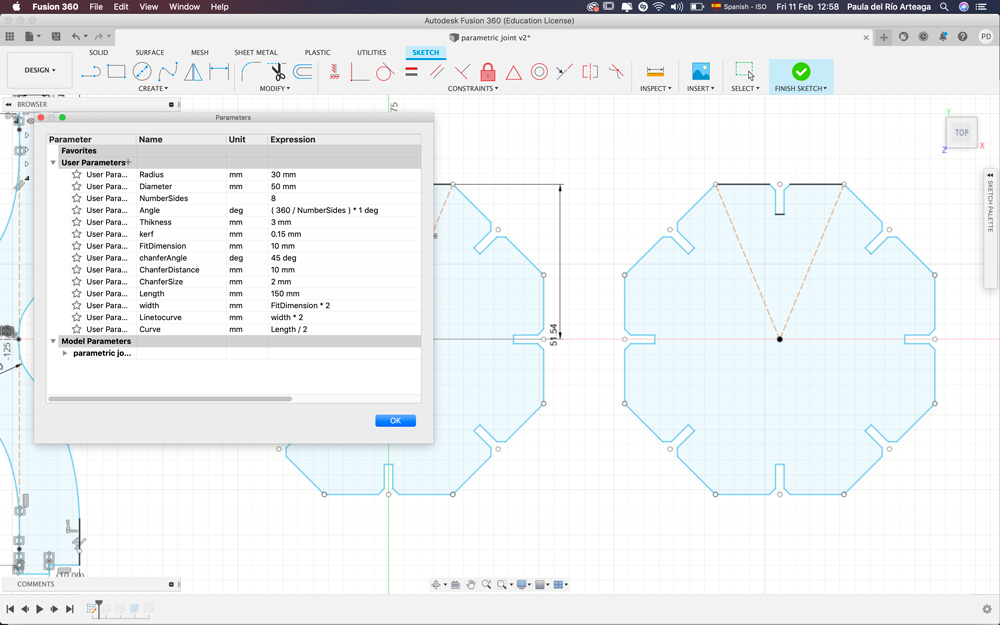
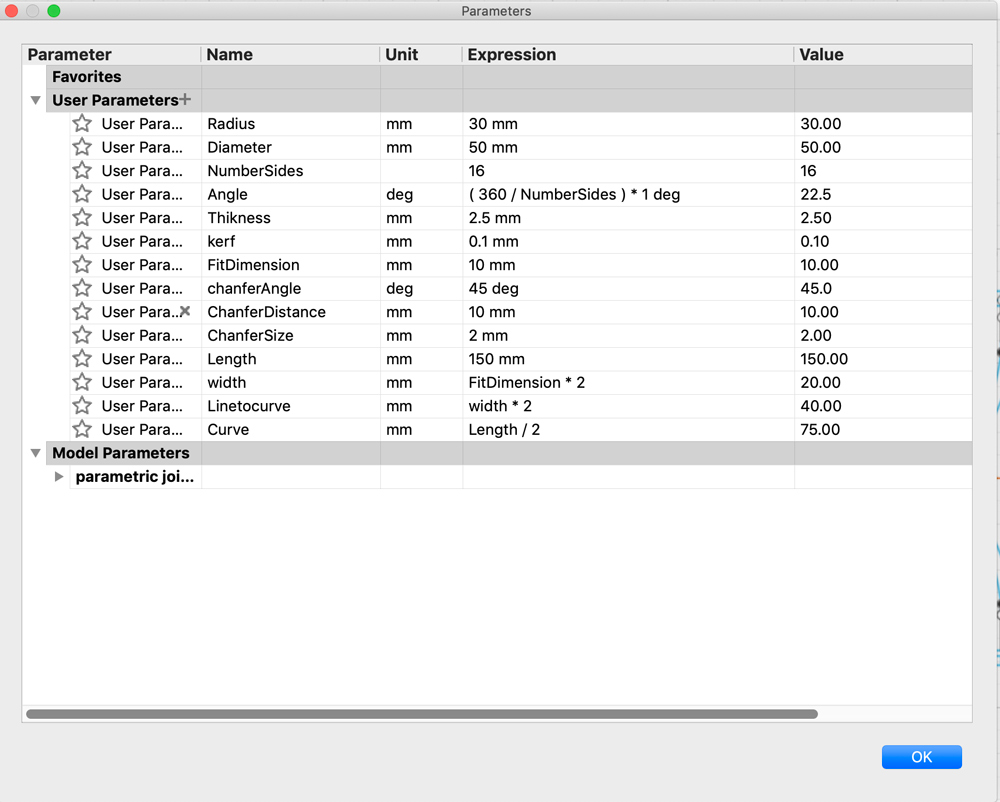
Parametric design helps us scale and adapt our designs according to the necessities. Every time we add a new measurement to our sketch, we set a parameter giving it a value that we could eventually be able to change in the future and the entire design will be adapted.
For this task I decided to start working with Fusion 360º, we got the first introduction to the program during the precourse but as I have mentioned before I had some problems installing the program so this was my first interaction with it. First I tried to play directly with the program and see if I could figure out the task without following any tutorials. This was harder than expected, so after a lot of struggles I ended up following last year class for parametric design by Josep (link). This tutorial was really helpful, I thought that I was supposed to create the design in 3D to later unfold it. But for the laser cut, this step is not strictly necessary. We draw directly the sketch in 2D and imagine how it would be assembled. I believe that for simpler shapes this can be achieved, but when thinking about generative design - one of my biggest interests that I want to pursue - I would need to visualize the design in 3D first.
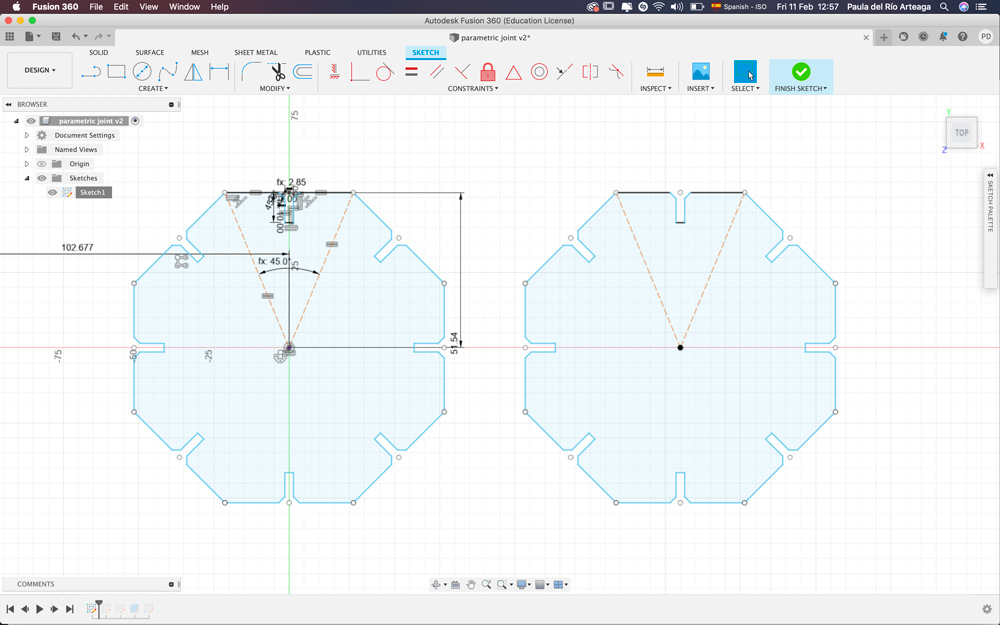

As I mentioned earlier, when drawing we were giving a parameter to each value as you can see in the screenshot below.

From fusion to the laser cut
● Preparing the file to be cut. Export the file in .dxf to be able to open it in Rhino. First, delete all the unnecessary lines that come from the previous sketch. Select the good ones and hint Comand join to join all the lines. Place every draw as close as possible to each other to better optimise the material.
● Setting parameters, Black for engraving, and then red for the first cut and blue for the following, continuing with the rest of the colours set on the machine. We always cut first the inner parts.
● Always check if the material is completely flat, if not stick it with paper tape on its convex side.
● Focusing the machine!! Very important!! With the aid of a little acrylic piece that we place on a tab at the laser and move the bed from bottom to top, till the piece tips and falls. Now our laser is focused!
● Extractor on!!
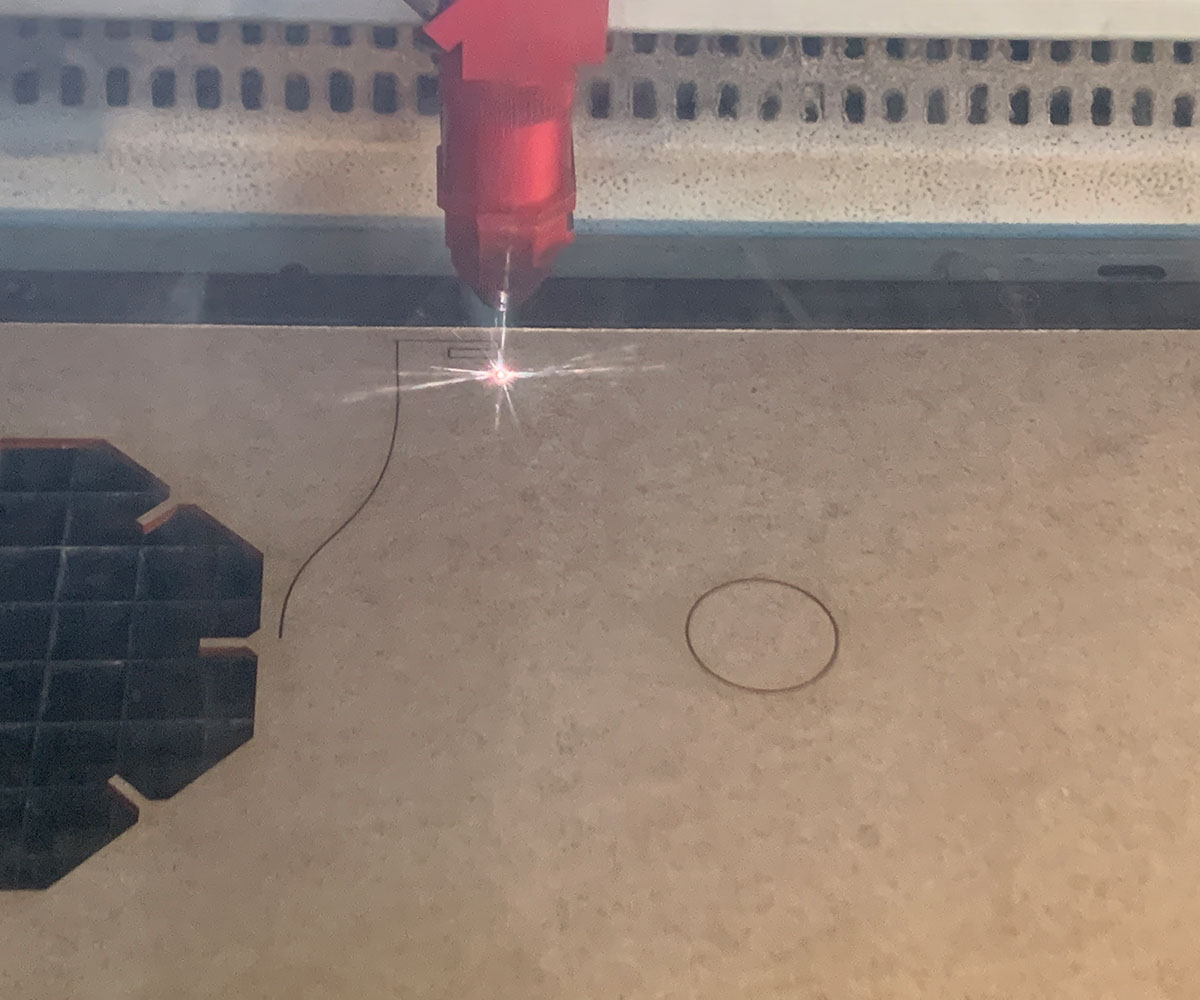
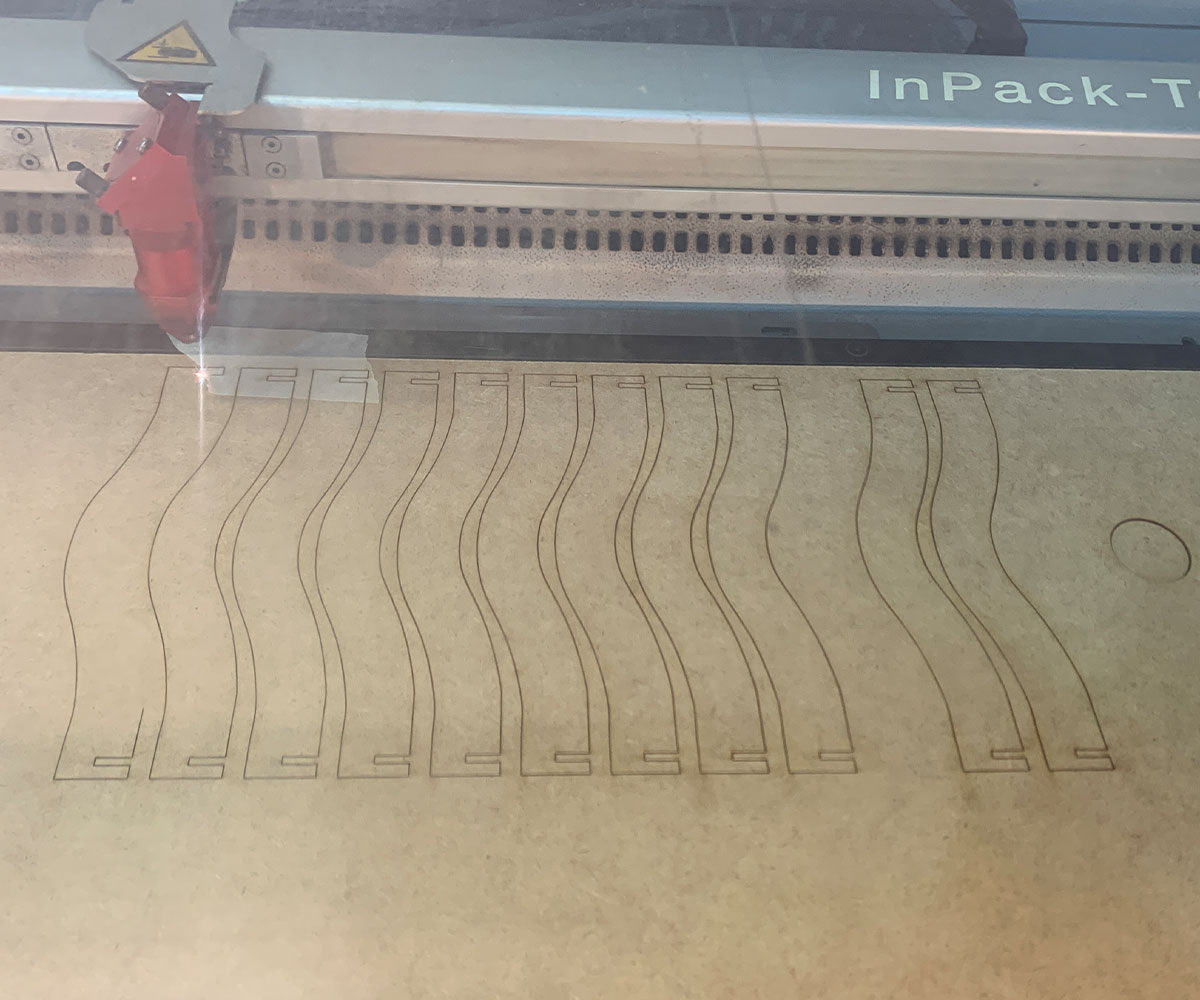
When everything is set we are good to go with our first test, in this case, to check the kerf for the press fit.

After checking that the kerf was a little loose, I adapted the design. Thanks to the parametric design, this was an easy task.


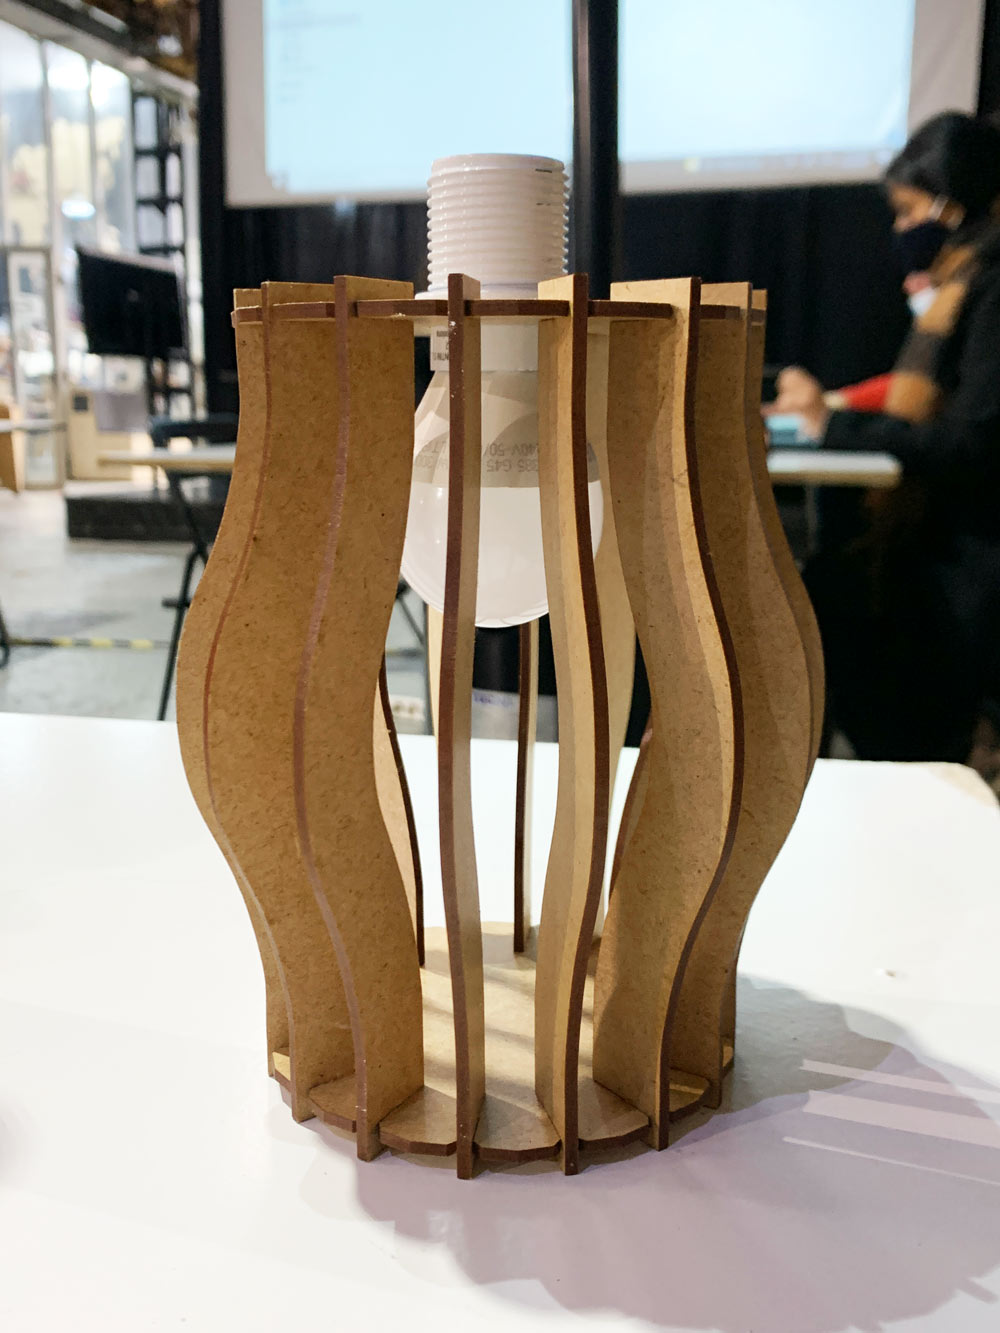
When the adjustment was done, I sent the file again and cut it all. The next step was assembling the pieces, at this moment I also realized that the top part of the joint was too thin and it breaks easily.
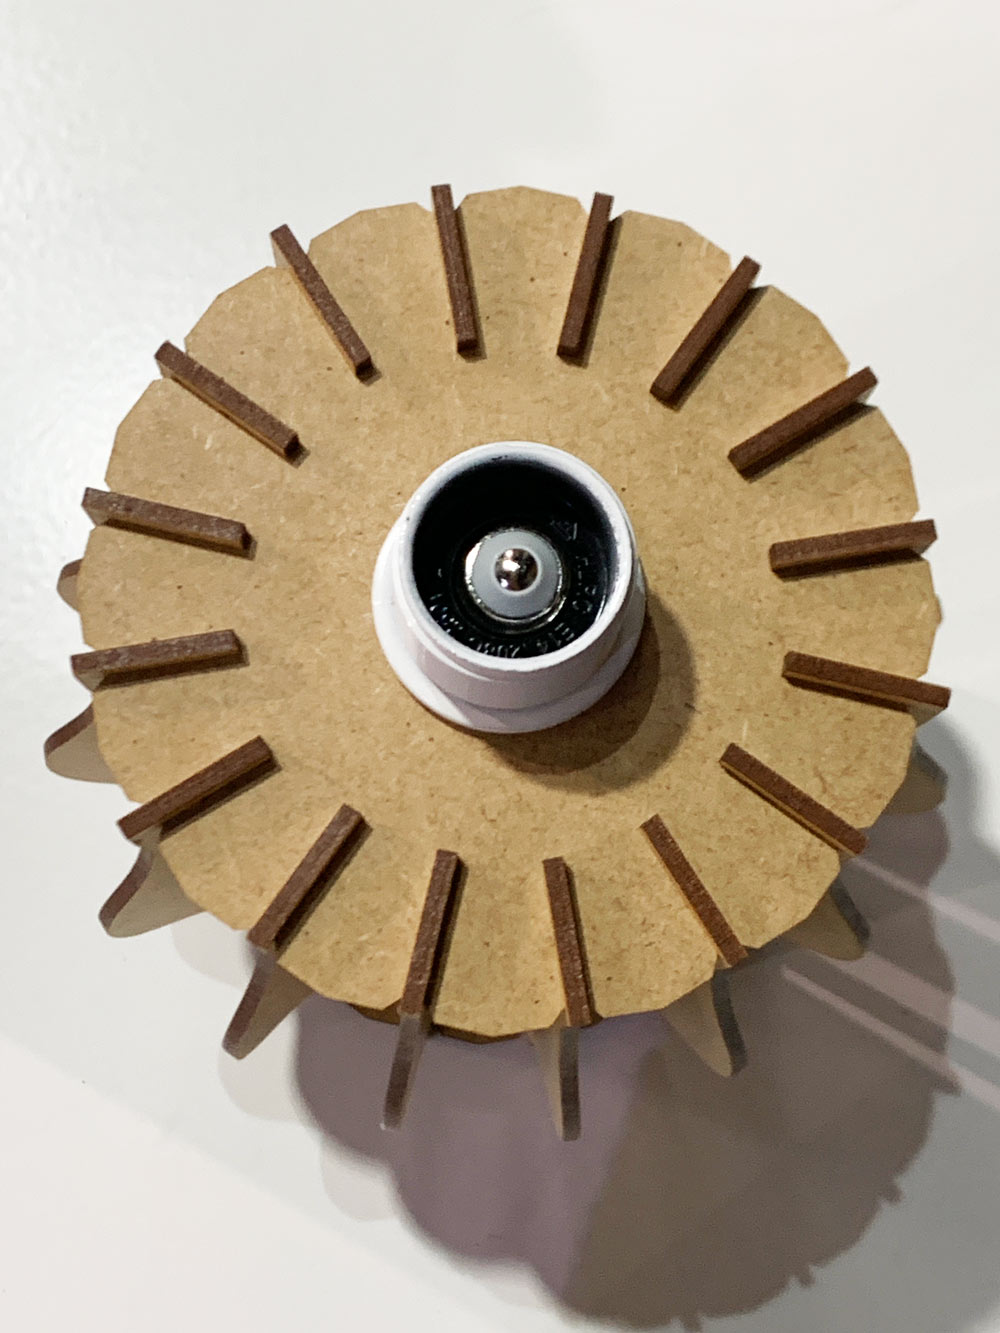
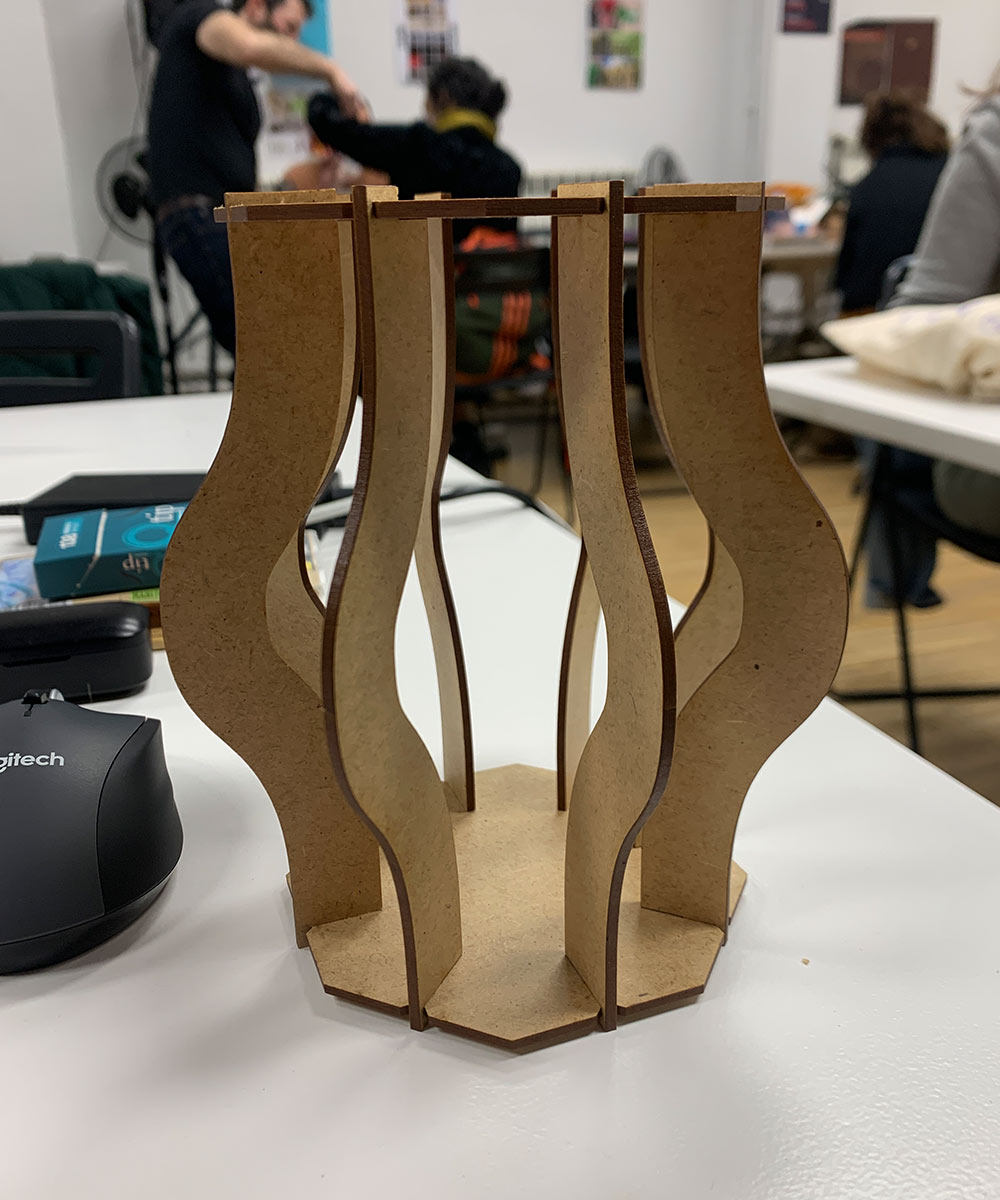
I decided to change the design and give it more margin on the top. Thanks to this error I also decided to change the number of sides my polygon has to have a bit more covered lamp. As you can see in the picture it was too open and a lot of light would get through in this design. I reused the bulb and all the cables from the crash course at the fab lab. Since all of them have been around the class badly treated and I thought to give it a better use.
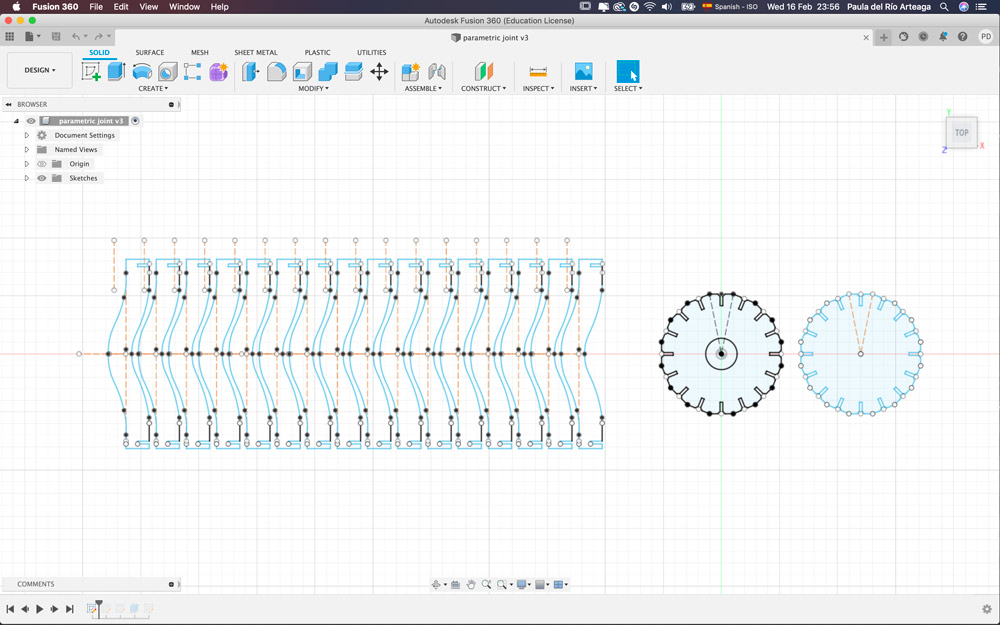
Again the parametric design was of great help, I only needed to adjust the number of sides and automatically the polygon and the pattern changed.
I have to admit that at the beginning of this task I was a bit scared and didn’t think I would make it on time. The moment I got the lamp finished was so rewarding and satisfying. I can’t wait to make more laser cut designs. I also feel way more comfortable with the program till the point that I got the opportunity to help some of my peers with it. As well as using rhino for adjusting the files, I got to better understand the parameters that we set for and why for each material.